SaleJunction Theme Complete Documentation by InkThemes
In the following documentation, you will know how to use SaleJunction e-commerce theme on your website. Following are the points that have been explained:
- What is SaleJunction theme?
- How to install the theme and activate WooCommerce plugin?
- How to upload logos, favicon on the website?
- How to set a custom font for your website?
- How to activate the slider on the home page?
- How to use homepage feature setting?
- How to use homepage blog feature section?
- How to use homepage auction setting?
- How to change the theme style options?
- How to add social icons on the website?
- How to use footer settings?
- How to make your website SEO friendly?
- How to add your products via WooCommerce?
Let’s discuss the above topics one by one.
What is SaleJunction theme?
A SaleJunction theme is an e-commerce theme which is simply designed for selling your products, digital and tangible. You can showcase your online e-store more efficiently with this theme.
SaleJunction theme is very simple and easy to use and any business professional can create his website without any difficulty. It requires a single click installation and your website will be ready within no time.

How to Install SaleJunction Theme?
Before installing SaleJunction theme on your website make sure that:
Installing the theme is very simple and easy. It will hardly take a minute. Just follow the simple steps given below:
- Go to your WordPress Dashboard to install the theme.
Dashboard -> Appearance->Themes -> Install Themes
- Choose the downloaded salejunction-pro.zip file and upload it on your dashboard.
Dashboard->Appearance->Themes-> Add New-> Upload -> Choose File -> Install Now
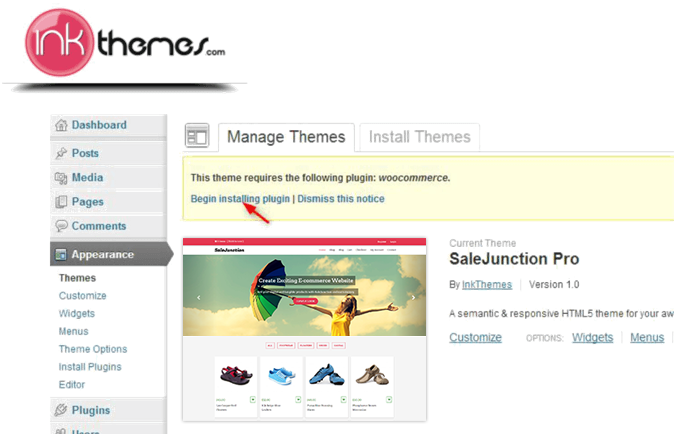
- Click on Activate option to activate the theme.
After activating the theme you will be notified by a message on your Dashboard that will ask you to install the WooCommerce plugin from where you can activate the plugin on your website
Just Watch this Video of installing SaleJunction Pro Theme and WooCommerce Plugin along with its dummy contents on your WordPress:
SaleJunction theme is compatible with the WooCommerce plugin and the theme + plugin combo will be enough to create an e-commerce store for digital as well as physical commodities.
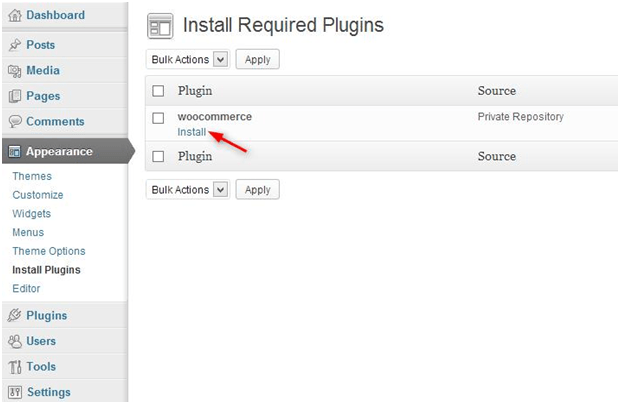
- Click on Install in order to install the plugin on your Dashboard.
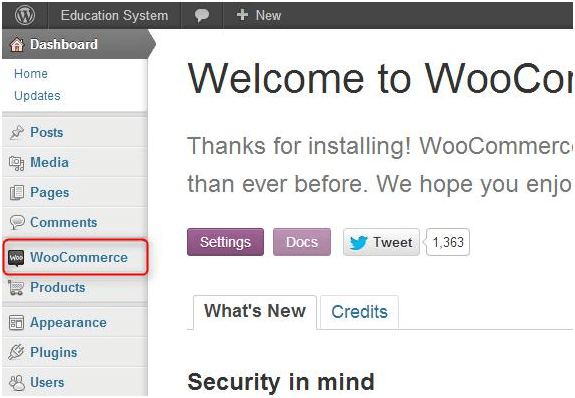
- WooCommerce plugin is successfully installed now and display on your Dashboard as you can see in the image below.
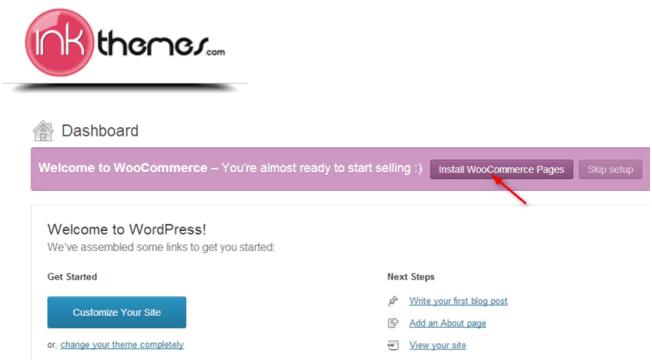
- WooCommerce plugin ask you to automatically install some Woocommerce pages like Shop, Cart, Checkout, My Account etc.
So you need to click on Install WooCommerce Pages button to include these pages on your website.
Remember, these are the default pages of WooCommerce plugin so don’t delete them.
- The theme is now activated and you can configure it from InkThemes’ SaleJunction Pro option panel.
Also, a detailed step-by-step guidance is also provided by WooCommerce to install the plugin.
Go to Dashboard -> InkThemes -> SaleJunction Pro Options
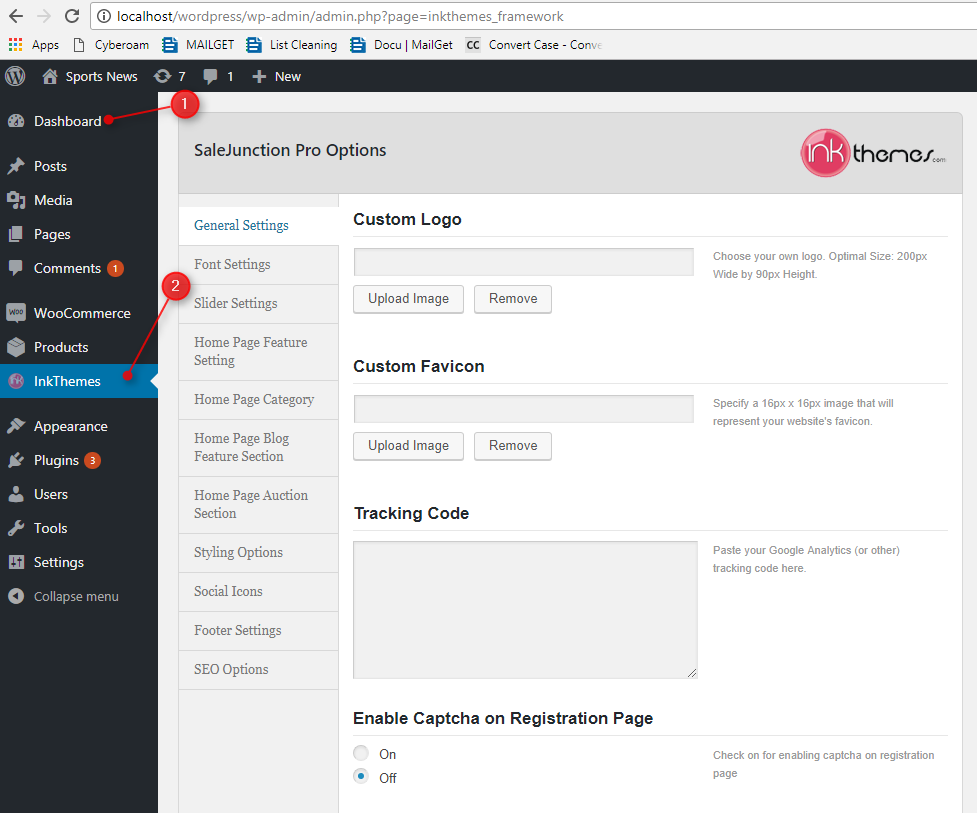
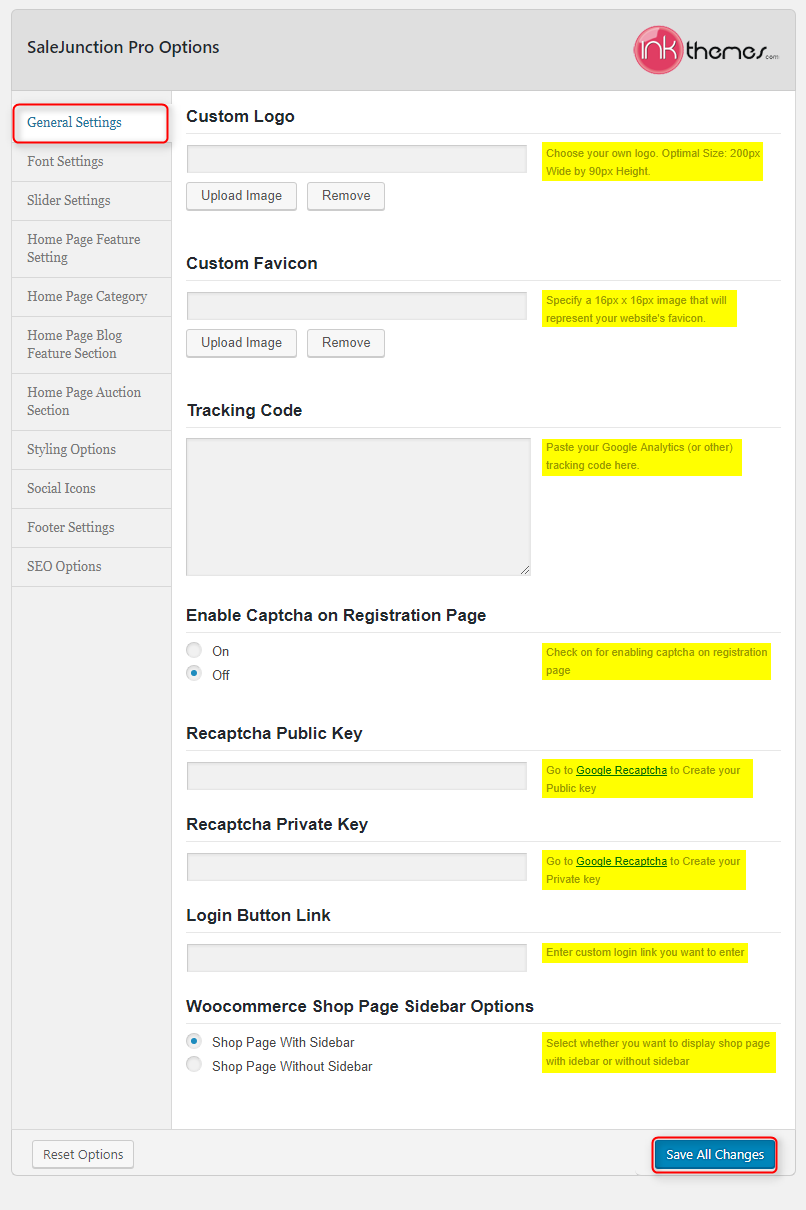
How to upload logo and favicon?
Uploading logo, favicon on the website is very simple and you can add Google tracking code.
Just go to your dashboard and follow the path:
Dashboard -> InkThemes-> SaleJunction Pro Options -> General Settings
After uploading the logos, favicon, click on Save All Changes button
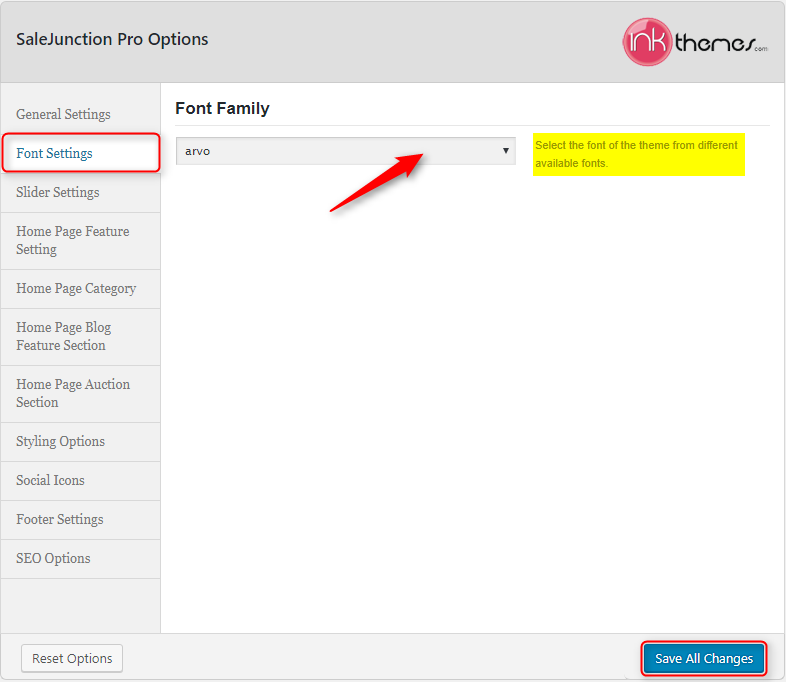
How to set a custom font for your website?
The theme offers you to manually change the font of your website using the Font settings.
In order to do so, just follow the path –
Dashboard -> InkThemes-> SaleJunction Pro Options -> Font Settings
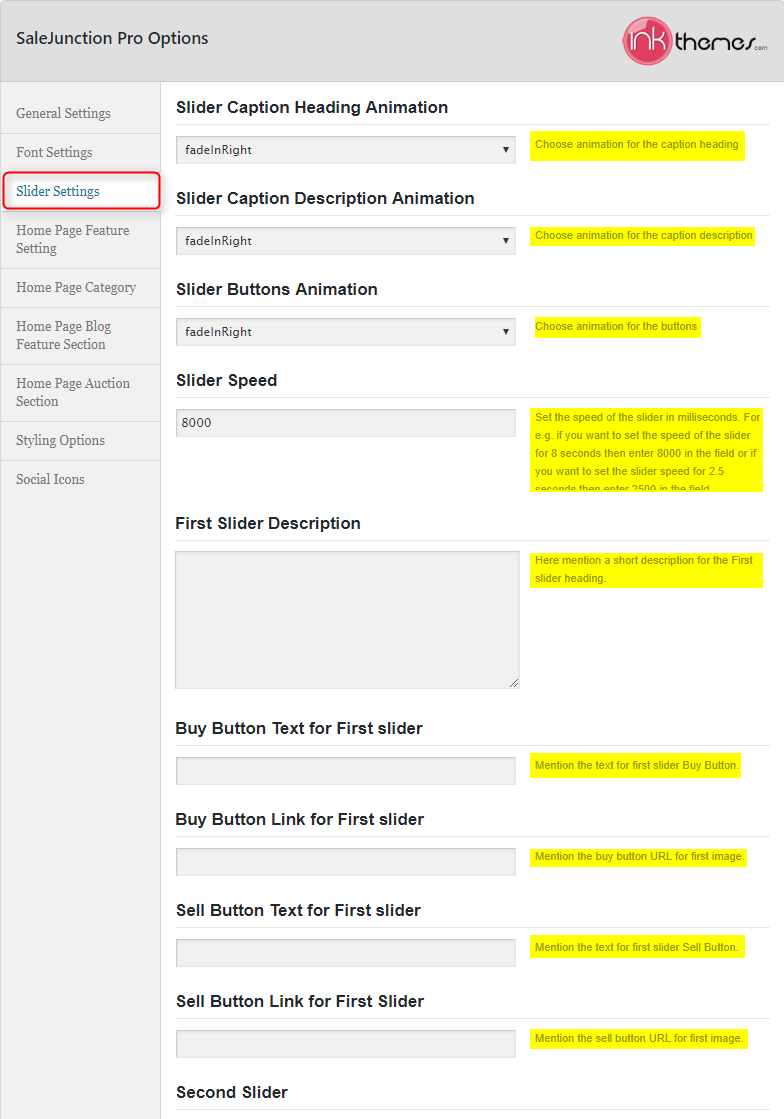
How to activate the slider on the homepage?
In the slider, you can show a maximum of 5 images whereas minimum would be one. Moreover, with each slider image, a button is also added. You can set button text according to you.
The recommended size for the slider images is 1920px *654px.
You can set the animation and activate the slider on the homepage by performing the following steps given below.
Dashboard ->InkThemes-> SaleJunction Pro Options -> Slider Settings
How to use Home Page Feature Setting?
In homepage feature area, you can assign homepage main heading and subheadings.
Moreover, you can set 3 feature images with heading and description.
Dashboard -> InkThemes -> SaleJunction Pro Options -> Home Page Feature Setting

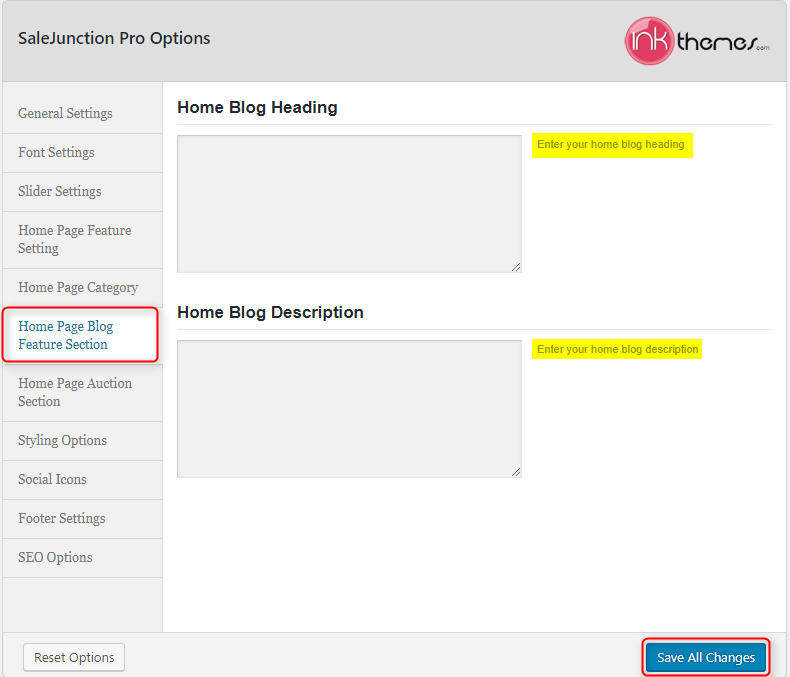
How to use Home Page Blog Feature Section?
You can show your latest posts here. Set your latest blog heading and its short description in this feature area and then click on Save All Changes button.
Dashboard -> InkThemes-> SaleJunction Pro Options -> Home Page Blog Feature Section
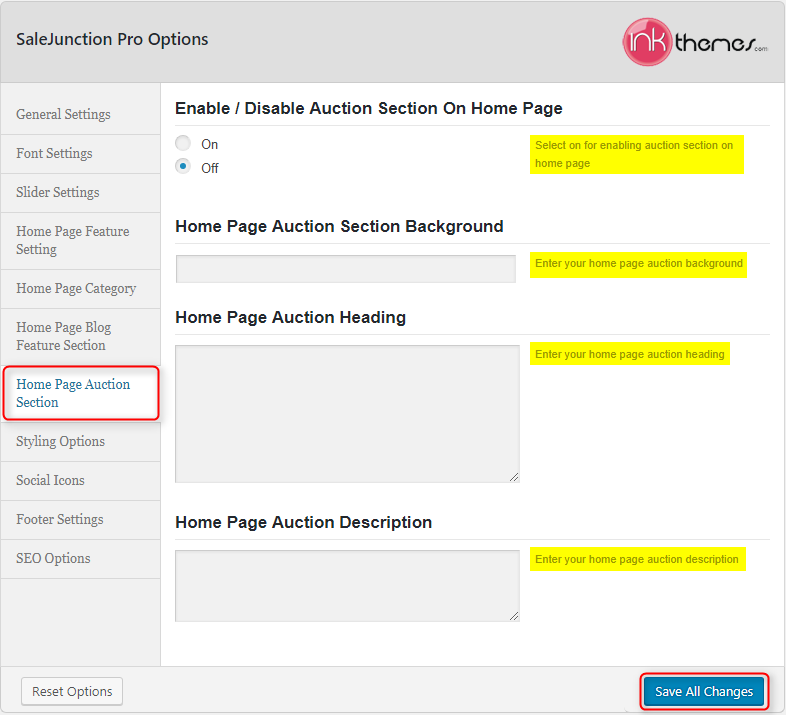
How to use Home Page Auction Setting?
The theme allows you to create an auction environment with the help of Home Page Auction Setting.
Just follow the steps mentioned below to implement the auction system –
Dashboard -> InkThemes-> SaleJunction Pro Options -> Home Page Auction Setting
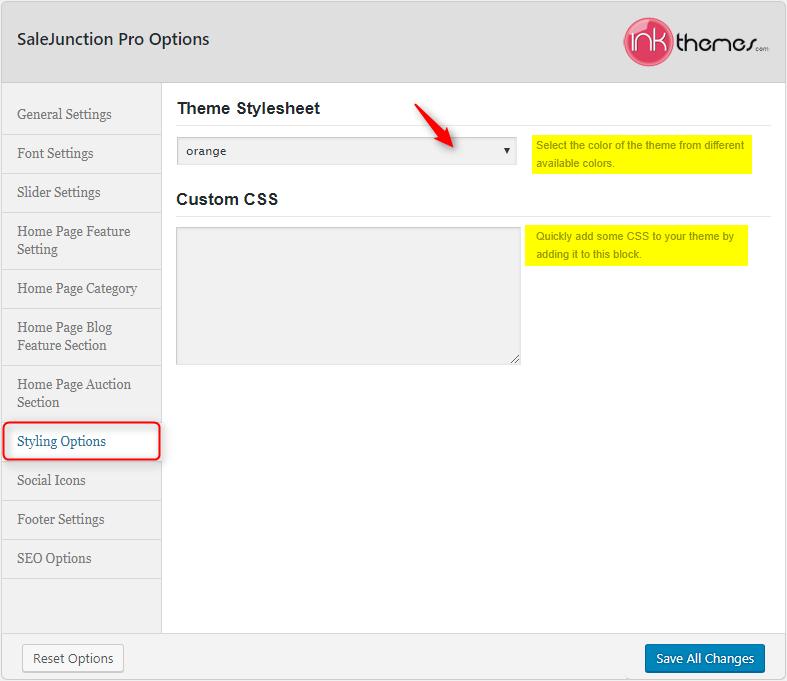
How to change the Theme Style?
There are 7 various styling options available in the theme. You can change the style of the theme through the following procedure –
Dashboard -> InkThemes-> SaleJunction Pro Options -> Styling Options
Moreover, you can also add your own CSS code here for any customization and then click on Save All Changes button.
How to Add Social Icons on the website?
Social icons are very useful for a website. There are various social icons available in the theme. The social icons will be displayed in the footer.
You can use implement them through the following procedure.
Dashboard -> InkThemes-> SaleJunction Pro Options -> Social Icons
![]()
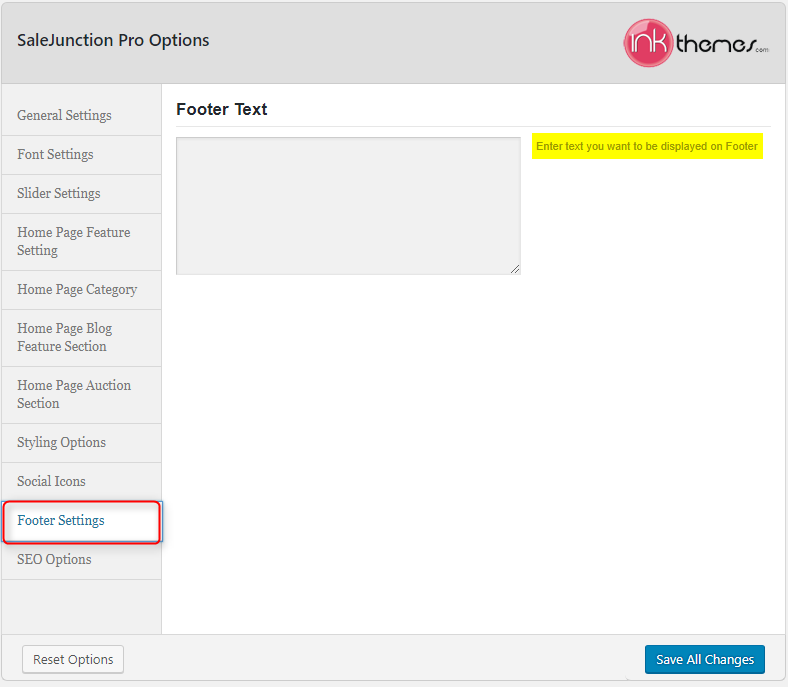
How to use the footer settings?
You can set your footer text that will be displayed in the footer. You can do it through the following procedure.
Dashboard -> InkThemes-> SaleJunction Pro Options -> Footer Settings
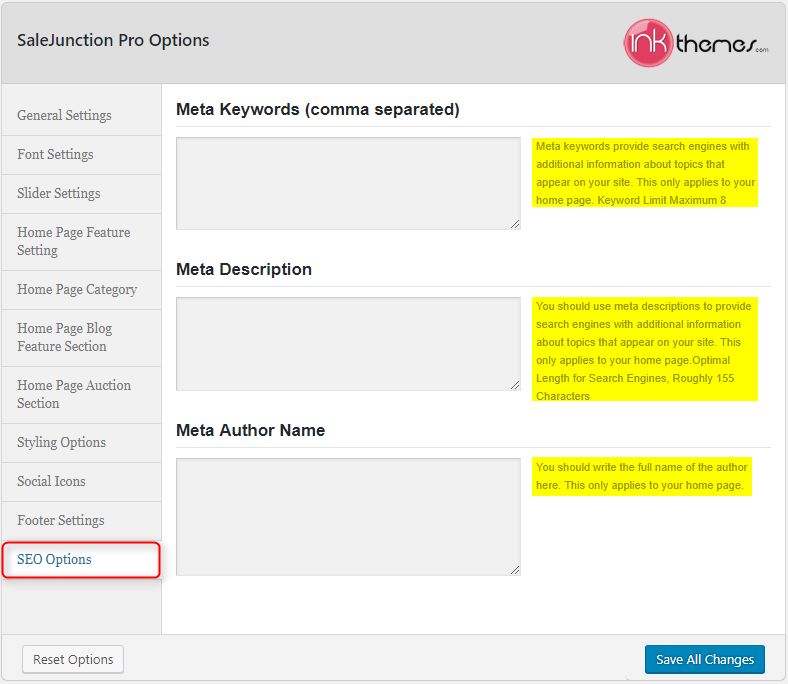
How to make your website SEO friendly?
With the help of SEO options, available in SaleJunction Pro Options panel, you can make your website SEO friendly.
This option allows you to add the meta description, meta keywords and meta author name for the homepage of your website.
Follow the path –
Dashboard -> InkThemes-> SaleJunction Pro Options -> SEO Options
How to add your products via WooCommerce?
You can easily add your product through the following steps.
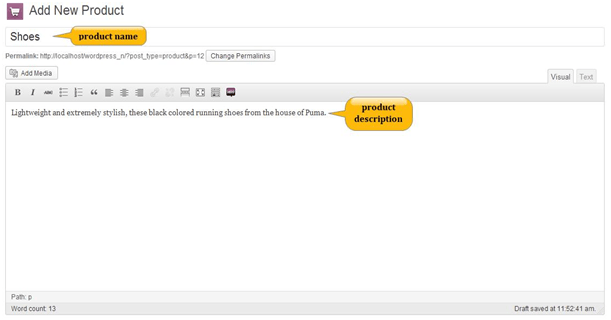
Go to Dashboard -> Products -> Add Product
You can give product name and describe your product in the description area.
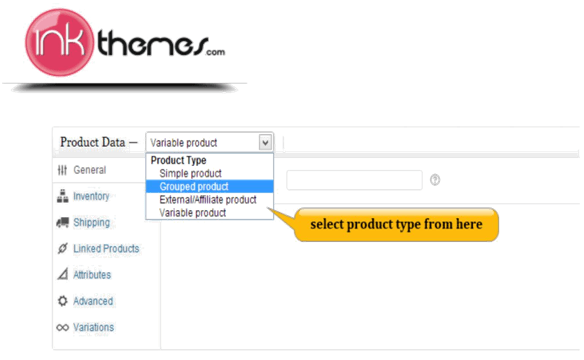
Select your product type from the list given below.
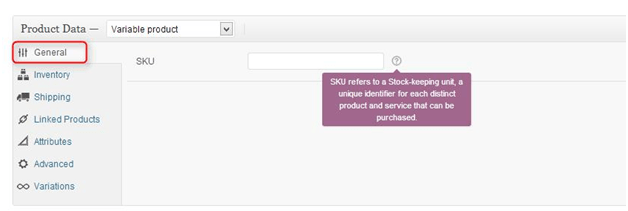
- Under General settings of product, set a unique identifier for your each product.
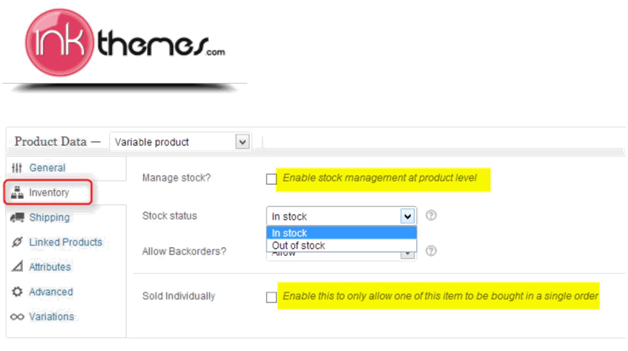
- Under Inventory settings, you can set the following options like stock status, backorders according to you.
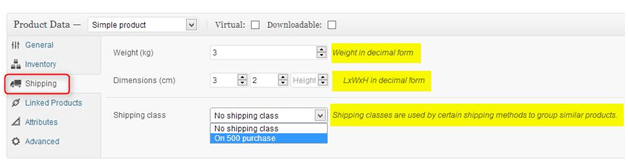
- Under Shipping settings, you can give the weight, dimensions and shipping class of the product of your choice.
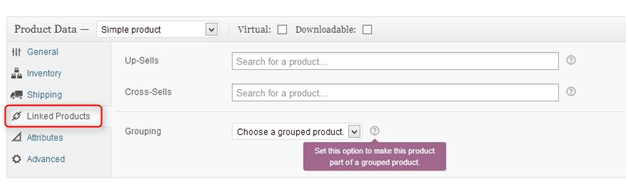
- Under Linked Products option, you can set up-sells, cross sells product of your choice.
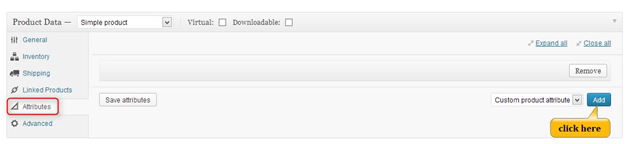
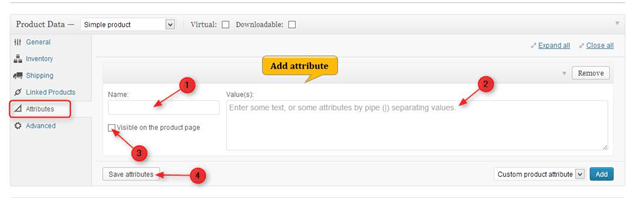
- Under Attributes option, you can add the attribute which defines extra product data.
For that click on Add button.
- Enter the details of attribute from here and then click on Save attributes
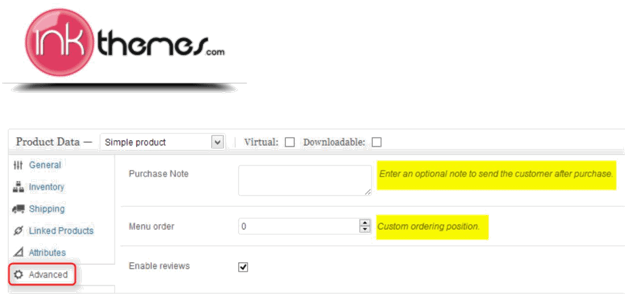
- Under Advanced settings, you can set the purchase note and menu order so that it is send to your customers after purchase.
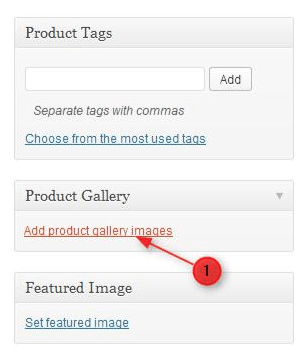
- After finished up with the above settings, you can include the image of your product by the following steps.
Click on Add product gallery images appear on the sidebar of your Dashboard
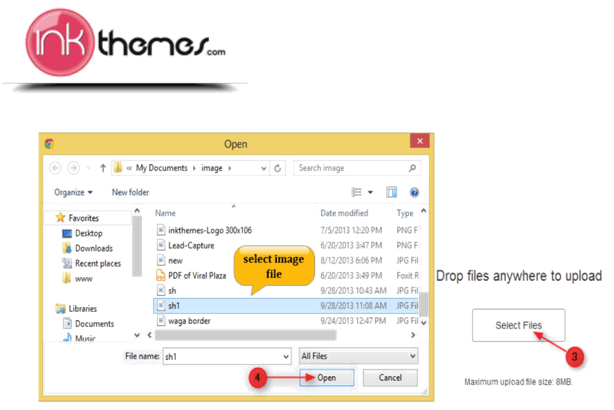
Click on Upload Files option appear on the image given below
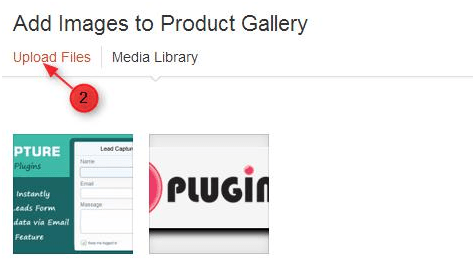
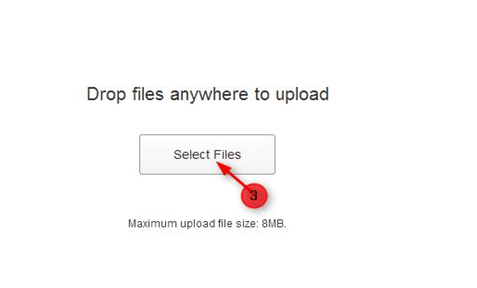
Click on Select Files option to select images stored on your machine or you have option to drop image here directly.
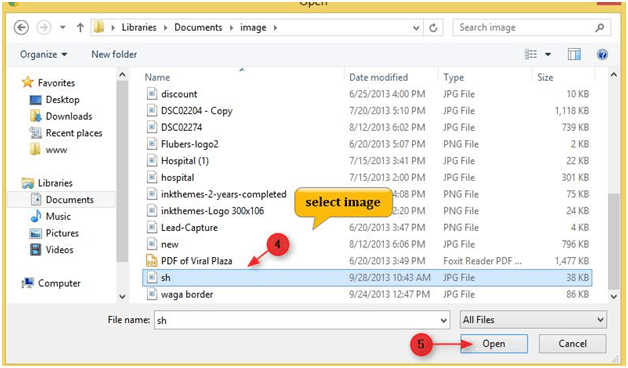
Desired image is selected from the list and click on the open button.
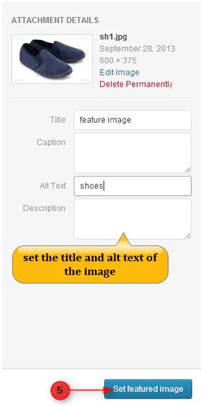
You can set the title and alt text for the image from here and then click on Add to gallery option.

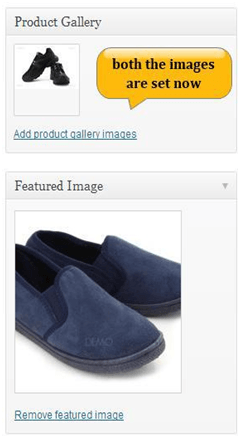
Your product image is set now which appear on the gallery page.
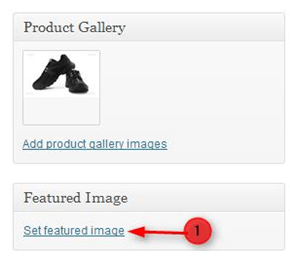
But you can also include feature image for the same product which appears on the homepage of your website.
You have the choice to set a different feature image for your product by the following steps.
Click on Set featured image.
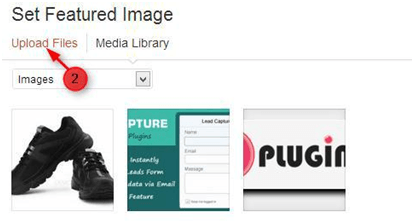
Go to Upload Files option.
Select the image file and click on Open button.
You can write the title and alt text of the image from here and then click on Set featured image.
Both the images are set successfully as you can see in the image given below.
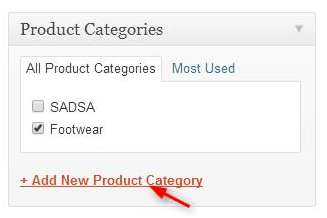
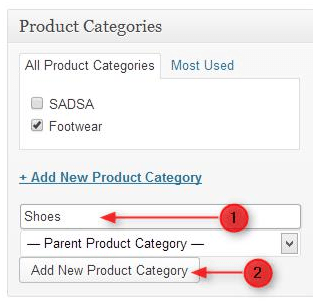
You need to select the category for your product before going to publish the product.

You can also add the new category for your product. For that Click on Add New Product Category.
Write the category name and click on the Add New Product Category button.
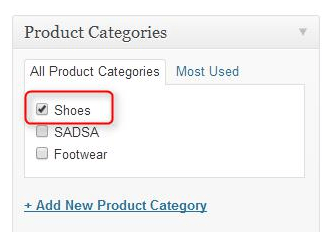
Category is successfully added now as you can see in the image given below.
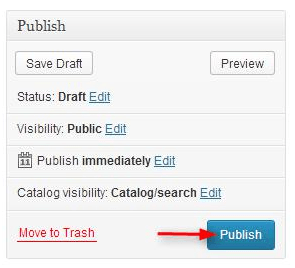
Now click on Publish button.
Now you can see how the product image appears on the shop page of your website.

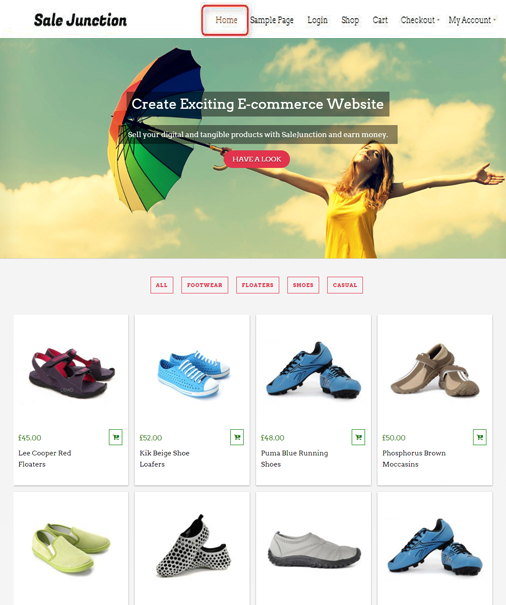
And see how the image will appear on the home page of your website.
If you want to get a clearer idea about the addition of products then you can surely visit the WooCommerce’s instruction to add products.
Thanks for purchasing the SaleJunction theme.
Let us know if you need further assistance, you can contact us from here: https://www.inkthemes.com/contact-us/ We will be glad to assist you.
For more help, you can explore our Support Forum and FAQs –
Forum Link: https://www.inkthemes.com/community/
FAQs Link: https://www.inkthemes.com/community/forums/frequently-asked-queries-faq.174/
