You must have thrown lots of projects while working in a big organization. Managing projects that involve thousand lines of code is not easy. You must have a good team for leading those typical projects.
Now if you have a team of 10 to 12 people then obviously it means you distributed those mind boggling lines of codes among them so that everyone can execute them individually.
If someone makes small changes to those lines of codes then that will be easy to identify. But what if everyone is making changes and you are not aware of all those modifications.
The best thing should be to adopt a software that will handle those big projects so that every member of your unit must be aware about what changes has been going on in the project.
But did you search for the solution?? That allows you to easily manage your projects. In the following post, I will talk about a software GitHub that will manage and save all your modifications of code keeping everything in loop.
With GitHub, you can easily distribute the project into different segments on the basis of coding (like PHP, Javascript, .Net) and able to assign a separate collaborator to manage each project code individually. Finally you merge these multiple code segments into your entire project.
You can easily review the what all changes made in the project code by the assigned collaborators. It will allow you to merge these changes with your main project. Moreover, you can easily find out the bug in the lengthy codes and correct it as soon as possible.
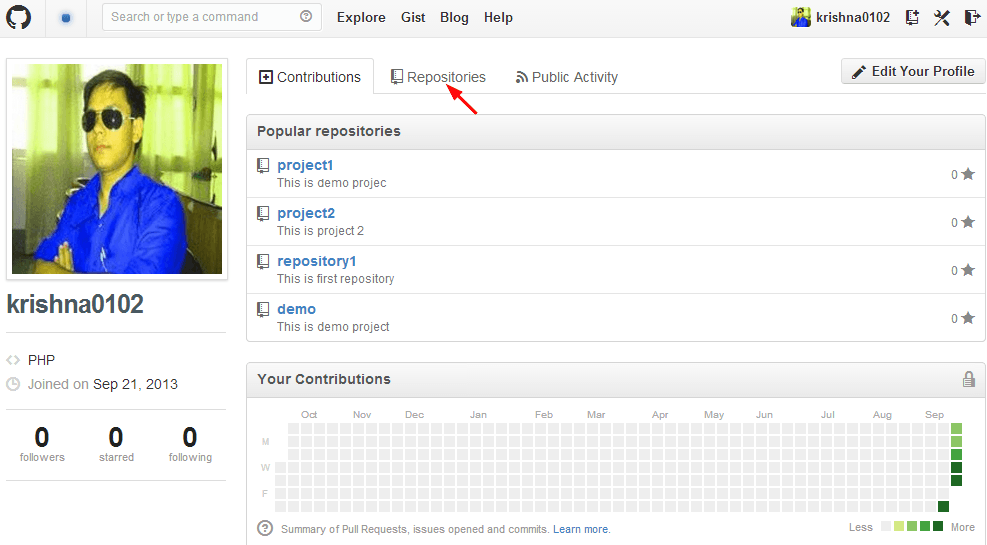
Steps to create a repository
In order to put your project up on GitHub, you will need to have a GitHub repository for it. So that every time you make a commit it will stored in a repository.
You need to create a repository on GitHub.
For that go to the Repositories appear on your GitHub account.
Click on New button.

You can give names to your repository and write some description about it.
Make the following settings as shown in the image given below and then click on Create repository button.

The repository is created now and an HTTPS clone URL is generated. Copy this url as you can see in the image given below.

Now open the NetBeans on your machine.
Go to Team -> Git -> Clone..

A clone repository window is opened now.
Now paste the clone URL in the Repository URL field that you have copied above.
And give the user and password of your GitHub account in the respective field as shown in the image given below and then go to the next option.

Again click on the Next button with the default settings.

Now select the path of your parent directory with the help of Browse button and give your clone name in the respective fields and then click on the Finish button.

Clone process is completed now. You are allowed to create a project from the cloned sources.
For that click on the Create Project button that you can see in the image given below.

Go to the next option by click on Next button.

Now give your project name under the Project Name field and select the desired location to store it in a newly created repository. And then click on Next button.

Now again go to the Next option.

Now create a new file let say index.php for your project.

You can now commit to this file. For that go to Team -> Commit

Now write the message in the Commit Message field and click on Commit button.

You need to push the commit message to the server.
For that go to Team -> Remote -> Push

You are not required to specify the location of repository again because it is already set in the above steps.
So select the desired option that you can see in the image below and then click on Next button.

To be continued by click on Next button.

Now finish up with the process by click on the Finish button.

Your commit is successfully pushed to the GitHub server and you can view it from the your GitHub account.

You can see your newly created repository on your GitHub account.
Now to open it just click on the repository1.

Open your project by click on the newproject as you can see in the image given below.

Open the file by click on index.php file.

As you can see in the image given below the index.php file is opened now.
If you want to make some changes in the file. You can easily do it.

You can easily see the difference between the changes made in previous as well as a new file by click on the icon appear in the image given below.

You can clearly see the what all changes made in the index.php file.

You can see the index.php file after making changes.

Steps to add Collaborator
By adding collaborator on your project you will give them read/write permissions on your project. They are allowed to access your repository.
You can easily add collaborator on your project. For that click on Settings.

Click on Collaborators to add to your project (here named project1).

Select your collaborator from the list under Manage Collaborators and then click on Add button.

Steps to create a branch for the project
Select your project for which you want to create a branch under your GitHub account.
Click on the project (named project1) as you can see in the image below.

You can now write the branch name (let say PHP) and then click on Create Branch:PHP option to include it on your project.

Steps to merge files in GitHub
You can easily merge files which is pulled from the collaborators with your main project by following the below steps.
Suppose you add up a branch in the main project. Let’s say oracle is the branch you added to the project from your panel.

In order to add a new file in the project click on the icon appears in the image given below.

You can create a new file by giving its name (lets say example.php) and write its content. Now write commit summary and then click on Commit New File button as you can see in the image given below.

A new file is created now as you can see in the image given below and listed in the project.
Now click on Compare & pull request button in order to pull the commit request to the master of the project.

You can now send the request to the master by just a click on the Send pull request button.

You can get the email notification about this pull request in your Inbox as you can view in the image given below.

You also have the option to assign someone else to this pull request in order to resolve the issue.

You can now merge this pull request with the original project by just a click on the Merge pull request button.

You need to confirm the merge request by just a click on Confirm merge button.

As you can see in the image given below that the pull request is successfully merged with the original project and closed now.
You also have a choice to delete this request by click on the Delete branch button.

The newly created file example.php is now added in the original project and the master can easily review it from its GitHub account.
In order to open the example.php file click on it.

The master can see the whole history of the newly added file by just a click on the History button.

Click on the example.php file.

The master can also give its comment about this commit request in the respective field as you can see in the image given below.

Conclusion
It will become quit easy for you to manage your big projects when you choose a proper tool. Hope GitHub proven to be a perfect tool for you and make your hectic work simpler.
Hope this tutorial easily guide you the steps to manage your project with the collaborators in the most effective way. Your feedback about this one is really appreciated. 🙂
